Christmas Wrapping

Hi all,
Hope you've had a good first week of December. This week I have been getting into the Christmas spirit with decorating for Christmas and wrapping up Christmas presents. Here I am going to show how to do the Christmas wrapping decoration like in the picture above. I have seven different ways to show you and they're all really easy and will look great underneath your Christmas tree. All of them use plain brown paper so stock up on your brown paper and let the post begin...
1

This one although it is still easy takes to longest of the lot and is the biggest decoration. I think this will look great on a bigger present. In the picture above it's on a shoe box.

You Will Need:
Two sheets of A4 paper
String (a little more than enough to go all the way round the present)
Glue stick
scissors
pencil

First fold your paper into a concertina effect like the picture above, mine was folded into 2.5 cm pieces. Then mark on with the pencil where you want to cut you can make curves or triangles like you do when you make the window snowflakes (I think everyone has made these at some point during primary school). When it's folded cut out the shapes so your cutting through each piece of paper at the same time. Do the same with the other piece so it looks like the picture above.

Then tie your string around both pieces of paper when folded like in the picture above.

Then open out each piece of paper and then glue to join them together so you have one snowflake. You should be adding glue to four pieces of paper. When you're done it should look like the picture above and you can tie it onto your present with the two ends of string. You may want to add a bit of tape so the snow flake stays in place.
2

This next wrapping is done using the normal brown paper and a wooden stamping block. This wrapping did probably take the most effort, but once you have the things you need and know what you're doing it's actually quite simple and looks really good and works well with presents you're going to post because it's flat and won't be ruined in the post.

You Will Need:
A wooden stamping block
Ink
Ink tray
A foam matt
sponge
you can get all this Here at the crafty place website. I bought mine at a craft fair.
First lay the paper you are printing onto the foam matt, you may want to cut it to fit the present first so you can see where you want the print to sit. Next put the ink in the tray, use the sponge to carefully dab the ink onto wooden block (don't rub it as that will take the ink off). Place the stamp down and press on the paper and lift it. You can repeat this until you have enough then wait for the paper to dry and wrap up the present.
3

This one I call my ribbon and ricrac present.

You Will Need:
Ribbon
Ricrac
any other ribbon like things (I used a pompom braid)
scissors
tape
Place the ribbon and ricrac on the present like in the picture above you can have the different pieces overlapping you can either tie them underneath or secure with tape.
4/5

Using a simple pompom I have created two ways of wrapping a gift. Excuse the wrapping on the first gift it was not an easy shape to wrap. I'm best at wrapping box shapes.
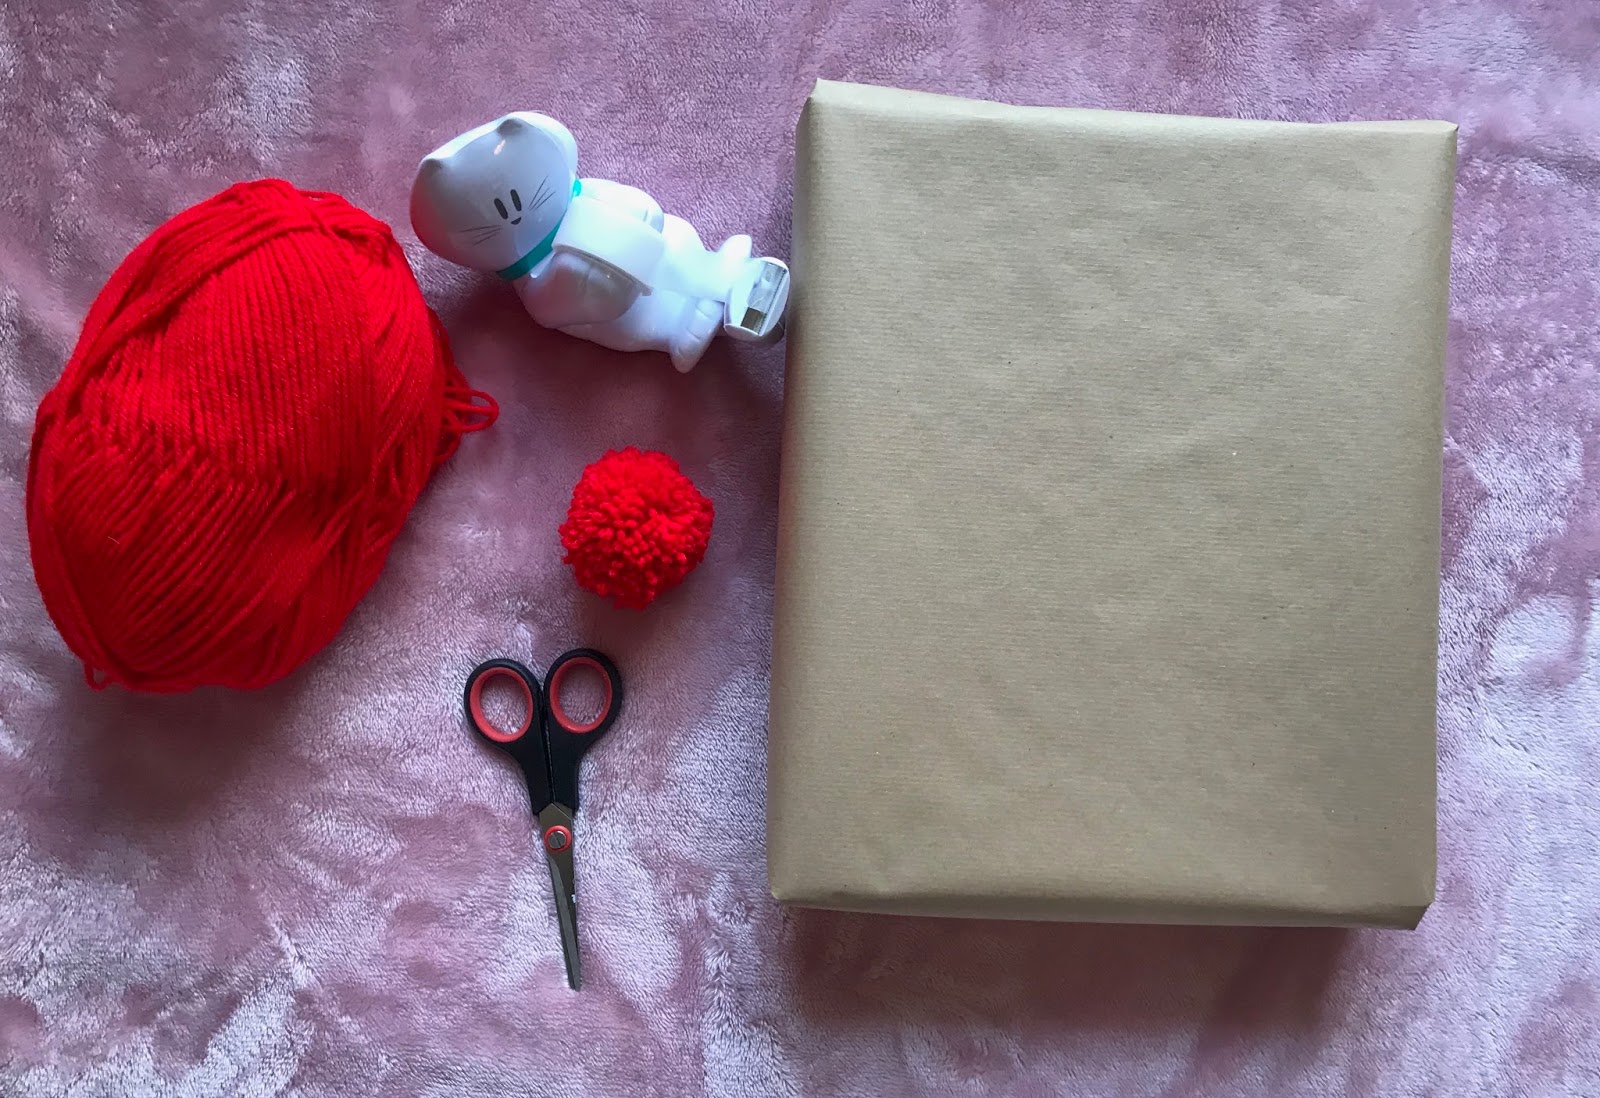
You Will Need:
Pompom (you can make this)
Wool to match
Scissors
Tape

I'm going to assume that everyone can make pompoms with wool and cardboard - I remember making them so often at primary school. If you can't I'm sure plenty of instructions will come up if you search how to make a pompom.
Okay so you have your pompom you're then going to use the matching wool to tie around the pompom so you can tie it round the gift. If you shuffle the wool you won't be able to see it.
Then tie it around the present. You can add more pompoms to create a different look or use lots of colours or add more wool like the first present in the photo above. Using the same pompom idea I created a Rudolf face on the the present by drawing antlers and eyes. I think this is really effective and works well on presents for children!
6

This one is really simple and so easy.

All you need for this one is scissors and some colourful or Christmas tape (I think a papery tape would work better rather than wash tape as it's for the person opening to remove or rip through it)
All you do is stick the tape on any way you like it's so easy and I think it looks really effective.
7

Finally I have present wrapped in a thick silk bow and a pressie topper. It's really simple but looks good.

You will need:
Thick satin ribbon
Present topper preferably on wire I got these from Hobby Craft
This one is really self explanatory but take the ribbon and tie it around the present in a bow, then wrap the wire topper around the bow and you're done!
Thank you for reading, hope you enjoyed! Do you enjoy wrapping up Christmas presents? Which one of my present wrapping ideas is your favourite? Will you try any this year? I'd love to know in the comments below!
Bye for now, see you next week!


Comments
Post a Comment